Life Drawing
1st October 2015
This post is about the first life drawing session we have done as part of the Animation course. I have had some experience in life drawing before, however what we were doing was very different from what I have done before. What we focused on during the session was more about the essence and poses of the model rather than the aesthetic or proportions of the model.
Other sessions I have previously attended focused on accurately drawing the model from life developing illustrative skills to achieve an accurate portrait by the end of the sessions.
However with this animation session, this focused on the pose and action of the model.
Sketches
As you can see in my sketches I was confused during the session and found it challenging to balance the two sides of life drawing; the illustrative and the action of the model.
This is because I believe Andy wanted us to express the models actions over his accuracy. Therefore in my drawings I focused on what the model was actually doing and that is why most of my drawings seem lifeless.
Here is a crude representation of what I mean:

The model may have been posing in one way, but then we were supposed to draw the expressed and exaggerated version of this. I am not too sure?
despite this this session had made me learn and realise a number of things about my drawings.

1.Line of action:
Firstly the model moved in several poses very quickly and we had the task of drawing the line(s) of action of each position. I found this difficult because most of the time the model had his back straight and I felt I couldn't effectively express his action compared to if he was running jumping, throwing, dancing or other extreme pose.
From this I need to practice to express more subtle positions effectively with a line of action and make sure it is clear to the audience what ever the model/ character is doing.

2. Position: Shoveling
The next few drawings are of the model assuming different positions to take what we learnt of the life of action and to add to it. We had to add a contour line around the model and focus on the shapes that were being made from the models outline to make a hallow silhouette.
As you can see I had made the legs too small compared to the rest of the body as well as not effectively expressing what the model is doing. This is because I was too busy trying to draw what I saw and not drawing what the model was expressing. (This is the same for most of these drawings).
I will have to practice foreshortening and perspective because my drawings are not correctly showing either. The body is too large compared to the legs and the legs are too small.
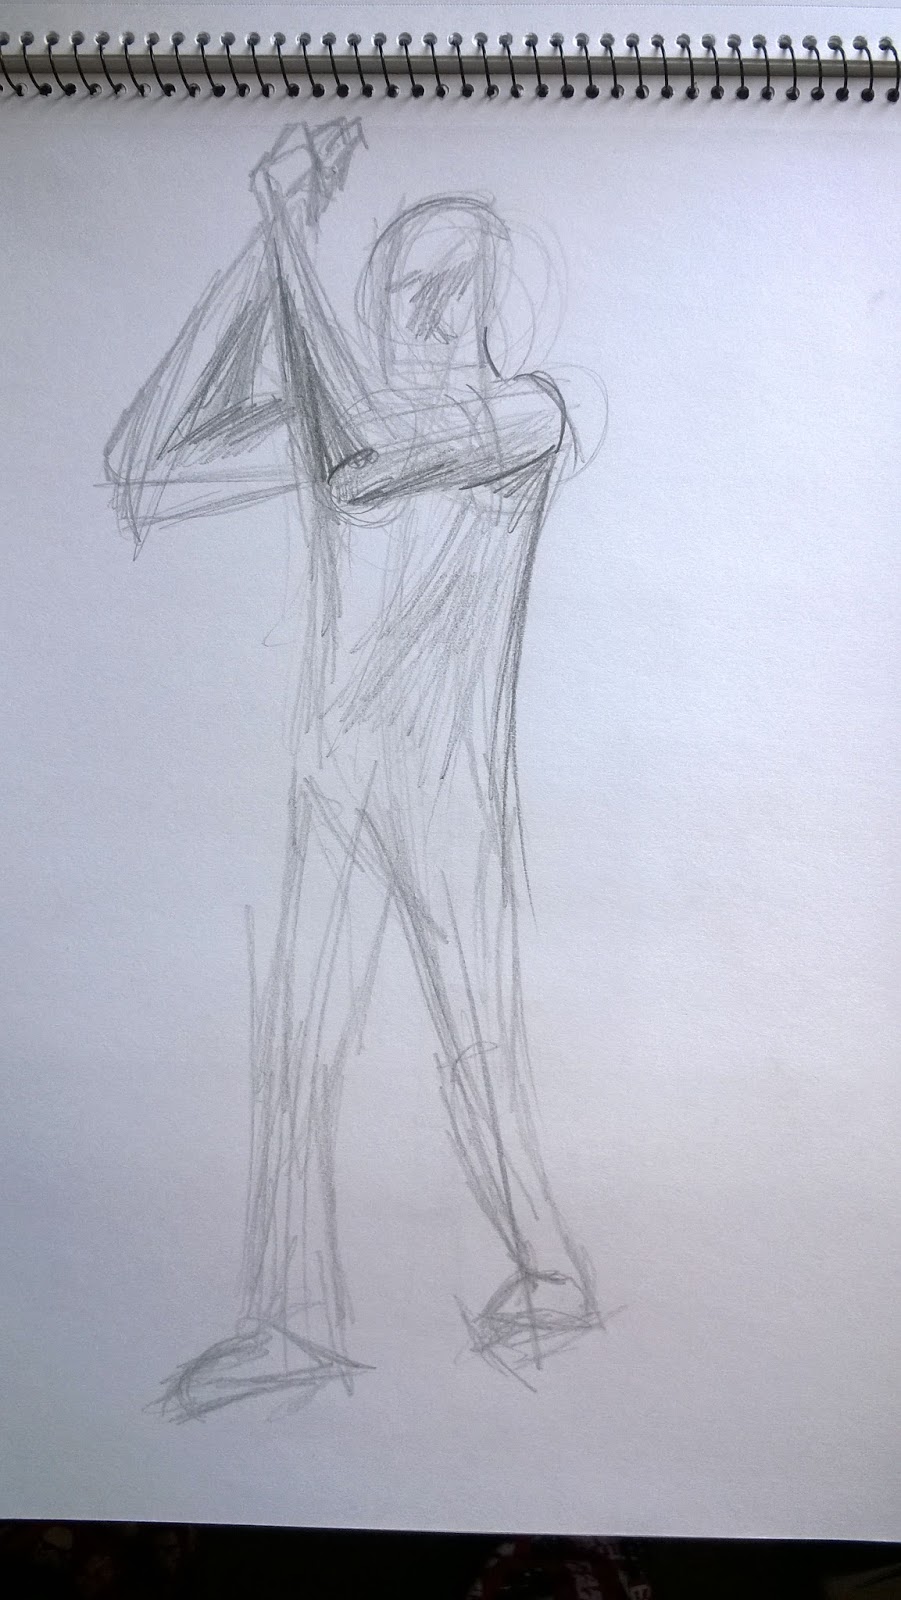
3. Position: Wielding Axe
In this drawing the model was positioned as if he were wielding an axe holding his arms near his head. Because we were focusing on the outline of the model, you can see that there is not much form with this drawing; therefore making it look rather flat. In addition (and mentioned before) there is not much expression within this drawing because I was drawing what I saw rather than what the model was expressing.
The legs are better than the last drawing however they still need improving. I've always found it difficult to convincingly connect the legs to the feet, however my drawings turn out to be two tree trunks with lumps protruding from the bottom.

4. Position: Anticipation Catching Ball
In this drawing the model was positioned in a way that he is anticipating in catching a ball. I feel that this drawing has no wight to it and that the model looks like he is floating or has no significant weight. I am pleased with the arms of the drawing as I believe they are in perspective and are proportional to the rest of the body. However I would improve the legs as they are not accurately shaped and do not show the models weight effectively.

5: Position: Holding One Arm Half-way Up.
This time we needed to focus on the 3D shapes and form that make up the model. Much like constructing the skeleton of the model in a drawings. We started with a circle for the skull, then a shape for the rib cage, finally a shape for the pelvis. Then we would have to draw a dot for the 'joint' points where the models joints were such as: the elbows, knees, shoulders etc. Between these points we would then have to draw lines to represent the bones and limbs between the joints. Finally we would have to add cylinders around those lines much like adding meat to the bones of the model. We had to watch the perspective of these cylinders in correlation with the model to achieve the correct perspective.
I found this easier than the other drawings because this allowed me to construct the model in my drawing piece by piece rather than trying to draw the model in one try. Which may explain the incorrect proportions and deformities in my previous drawings.
I also need to develop my shading because despite adding tone, it is not effective in giving the models shapes volume.

6. Position: Crouching
Continuing with the 'constructing' method of drawing the model, the next position was crouching.
This made it a challenge for extreme foreshortening and perspective. I followed the steps of the previous drawing, however it became very challenging when the joints started to overlap or become very close together due to perspective. This made it difficult to join joints together and it made the centre of the drawing very difficult to deal with.
I would improve the expression and perspective of the model as i feel that it does not show either of these well in this drawing.

7-11: Positions: Very Quick Series of Poses
This page shows a series of drawings I did as part on an exercise where we had the task of drawing the model in a very short space of time. That is why I chose to do these poses on one page; that the model is smaller and less time to draw.

7. Position: Leg on Chair
This was a much better position and I felt that it was enjoyable and a challenge because the model twisted his spine in a way that altered perspectives and kept it natural. I also felt that i could express more weight in this drawing because i could see that the model was resting bis weight on the his leg on the chair. However this drawing could still be improved by: the leg on the floor needs to be re-done to align with the spine as well as giving the chair more depth and an outline to define its existence in the drawing.

8. Position: Sat on Floor with Legs Crossed
In this drawing the model was sat with his legs crossed on the floor. I am also happy weight this drawing because it is very quick and rough and I focused less on details but more of the form of the model which gives the drawing more life despite the model just being sat on the floor. I would still improve the head and arms in this drawings. head: it seems deformed and needs correcting. Arms: are not clear on their position (just a bunch of scrambled lines).

9. Position: Sat on Chair
I am happy with this drawing as I believe i have achieved a some-what accurate perspective and proportions of the model. I believe I have captured some expression the drawing as well as if the model is waiting for something.
I would improve this drawing by making the head less round and adding more detail to the rest of the drawing.

10. Position: Arms in Air
I found this position quite difficult because the model was posed in this way but with no expression; therefore I feel that i should have added the expression and life to the drawing. I would improve this drawing by adding more life and expression to the model/ character.

11. Position: Hands in Face
I would improve this drawing by adding more weight to the head so that the head is resting in the palms of the model's hands. I believe this would make the drawing more expressive. However in this drawing the model is just covering his face with hands; therefore they're is not as much expression.
I would also improve the legs in this drawing by making them larger and a more accurate shape as they seem a thin compared to the rest of the body.
Conclusion
I found this session challenging and that i have learnt a lot from it. I will continue to research and develop skills in life drawing as i would like to achieve accurate and meaningful life drawings with life and expression.
No comments:
Post a Comment