Life Drawing 5/11/15
Introduction
This session we continued to work on capturing the essence of the pose through the line of action; more than capturing the form or detail of the model. We also experimented with over exaggeration and deformed proportions later in the session. In addition we came back to negative space to test us to capture the shapes of the model.
Session
Firstly, we began with very quick 30 second poses because the model had not arrived yet; therefore we had to draw another student while we waited. Despite this the principles were all the same with observation and trying the capture the essential lines and shapes to portray the pose effectively.

(1) As these sketches are really rough and incomplete, there is clear signs for improvement however I feel that i would need o improve the poses and proportions of the model to effectively capture the pose, even if it is not detailed. I would do this by observing distinctive shapes and lines that define the pose and/or action and build off of those.
This next page shows drawings I created with my weaker hand (left hand). This task was for the class to draw the model using their weaker and whilst sticking to the same principles we have learnt so far about the line of action and shapes. This was done because this made us look at the model more to make us observe and draw the model rather than us draw what we thought we saw.
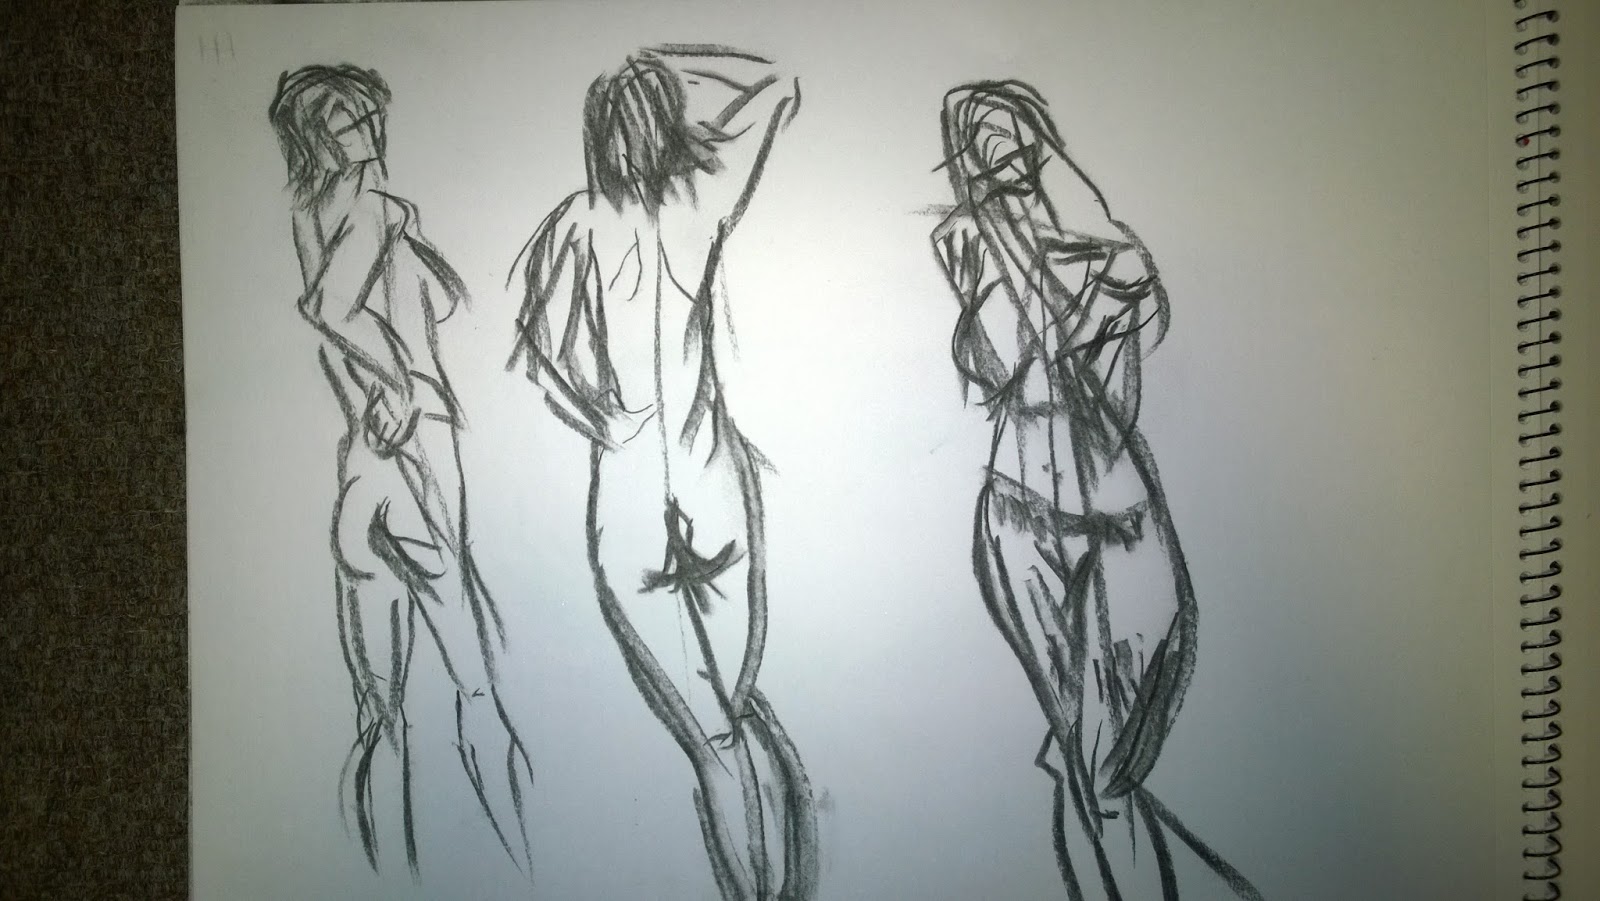
(2) These drawings are with my weaker and and I am surprised I managed to even create these drawings but there are clear improvements needed. This includes proportion and line of action; this is because I forgot to create the line of action for the first two drawings (left to right) because I was too busy observing the model. However I do feel that this exercise made me observe the model more than I usually do and from this I have found that observing is one of the most important things to do in life drawing (if not the most important.).
Next, we had to capture the shape of the model through negative space. Therefore rather than drawing the shape of the model, we had to fill in the shapes around the model which would then form the models shape. I used charcoal for this task because I felt it was the most appropriate medium to fill in space around the model because of how bold it is and the effect it has to create atmosphere on the page.

(3) I fin that I had made the model too large in this drawing due to the perspective I was observing the model. The model had her hands on her hips and from the angle I was at, there was no gap for one of the arms for me to fill, therefore the body feels that it has extruded. Next time I will try to fill in the negative quicker and rougher to try and accurately capture proportions and perspective first, to then spend the rest of the session altering and improving.
After that we had the task to capture motion within the model as she walked around the space in a circle for 10 minutes. We had to draw the model multiple times on our page and try to portray movement in these drawings. this was the first time we had done anything like this because the model had never moved before at the same time we are drawing.

(4) I used charcoal in these drawings as i felt it to be the most effective in quickly capturing shapes of the model and portraying organic shapes as well as movement.
I used a lot of curved lines to portray the fluid movements of the model as well as the key poses she was in when she reached certain points in the cycle. I started with clock positions i.e. twelve, three, six and nine o'clock positions, and then added drawings between.
I found this difficult because you had no choice but to add a couple of lines to a drawing at a time because the model wasn't going to stay in that exact position, but would return to it later. Therefore I had to adapt to the situation and worked very differently from I usually worked. Next time I would try to capture more drawings at once with less lines at a time, therefore the drawings should be consistent rather than their scale increasing/ decreasing.
Finally these next two drawings are of the task where we had to extrude the shapes and lines of the model to the point of deformity and even abstract proportions. This made us observe and identity distinctive shapes and lines of the model to then distort and exaggerate them.

(5.1) This was the first drawing I did using charcoal again for the same reasons as before. The model was in a slouched position over a chair resting her arm over the back of the chair. I chose the exaggerate: the shoulder, ribs, hips, arm, head/neck, and foot. This is because I focused on the curves and changing shapes of the model to then exaggerate those. An example of this is the extruding shoulder, then the dip between the ribs and shoulder,back to a high point of the ribs.I also elongated the arm of the model to the point where it is folded on the floor, almost melted.
I would improve this drawing by further exaggerating those points such as the shoulders and ribs as well as the arm being in further stretched around the floor.

(5.2) This the second drawing I did of the model in a different position with even more of an abstracted look. I again exaggerated the: ribs, shoulders, hips, hair, breast and leg. This is because i focused on the distinctive shapes and lines of the model and deformed them and really tried to stretch the exaggeration. I would improve this drawing by increasing the volume of the hips, as they seem too small.
Conclusion
Within this session we tried a couple of different takes as well as revisiting old ones and I feel that I have learnt important ideas from this session. I have learnt how to observe the model further to capture the shapes and lines of the model rather than drawing what i think is correct. I have also learnt to quickly capture the model through observation, and then improve the drawing if I have time,. because detail is not as important as proportion or perspective.
No comments:
Post a Comment